How to Get Started: Photo Books. Follow these steps to start creating your custom photo book
After downloading the Mimeo Photos app in the Mac App Store, follow these steps to start creating your custom photo book.
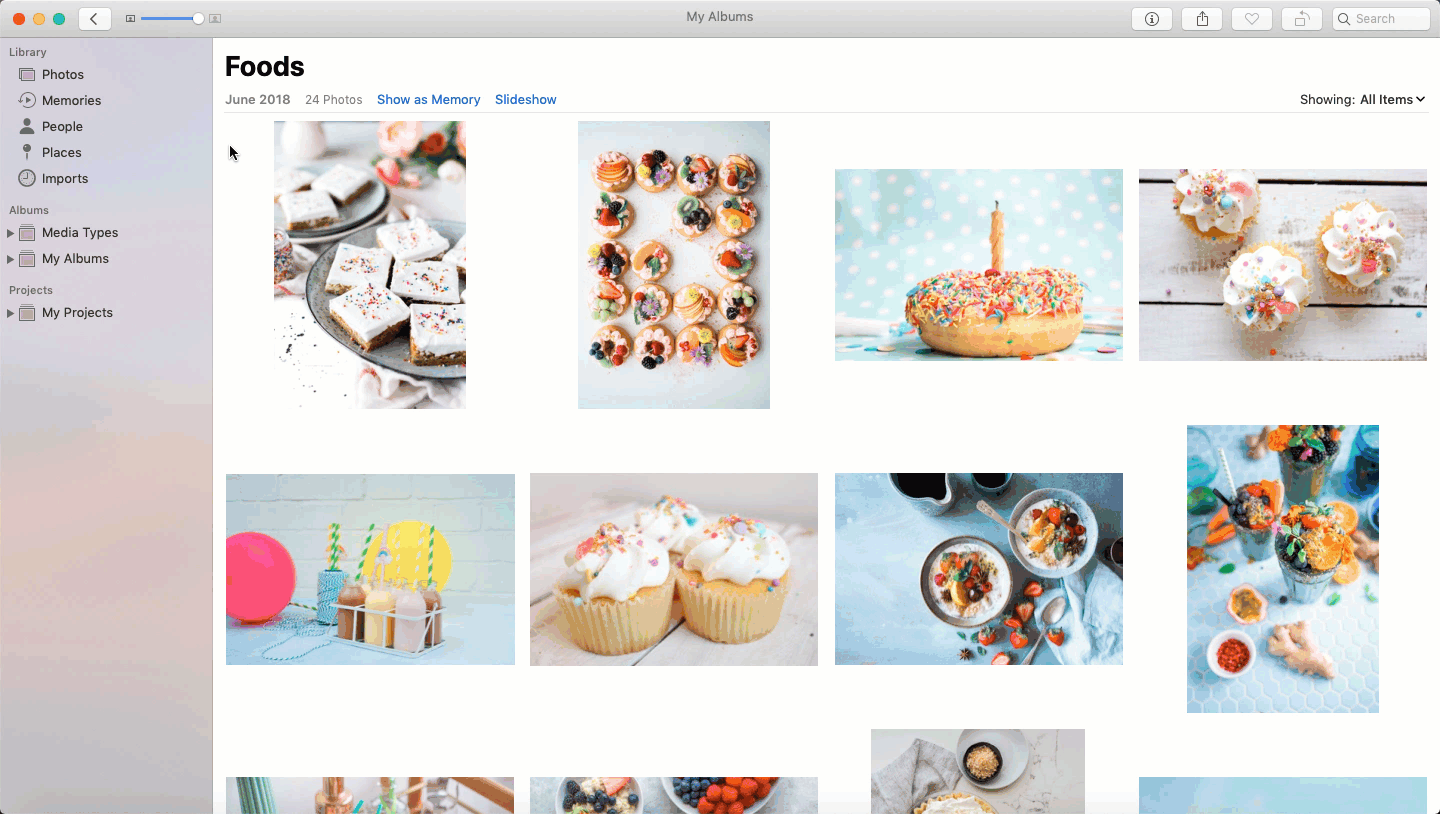
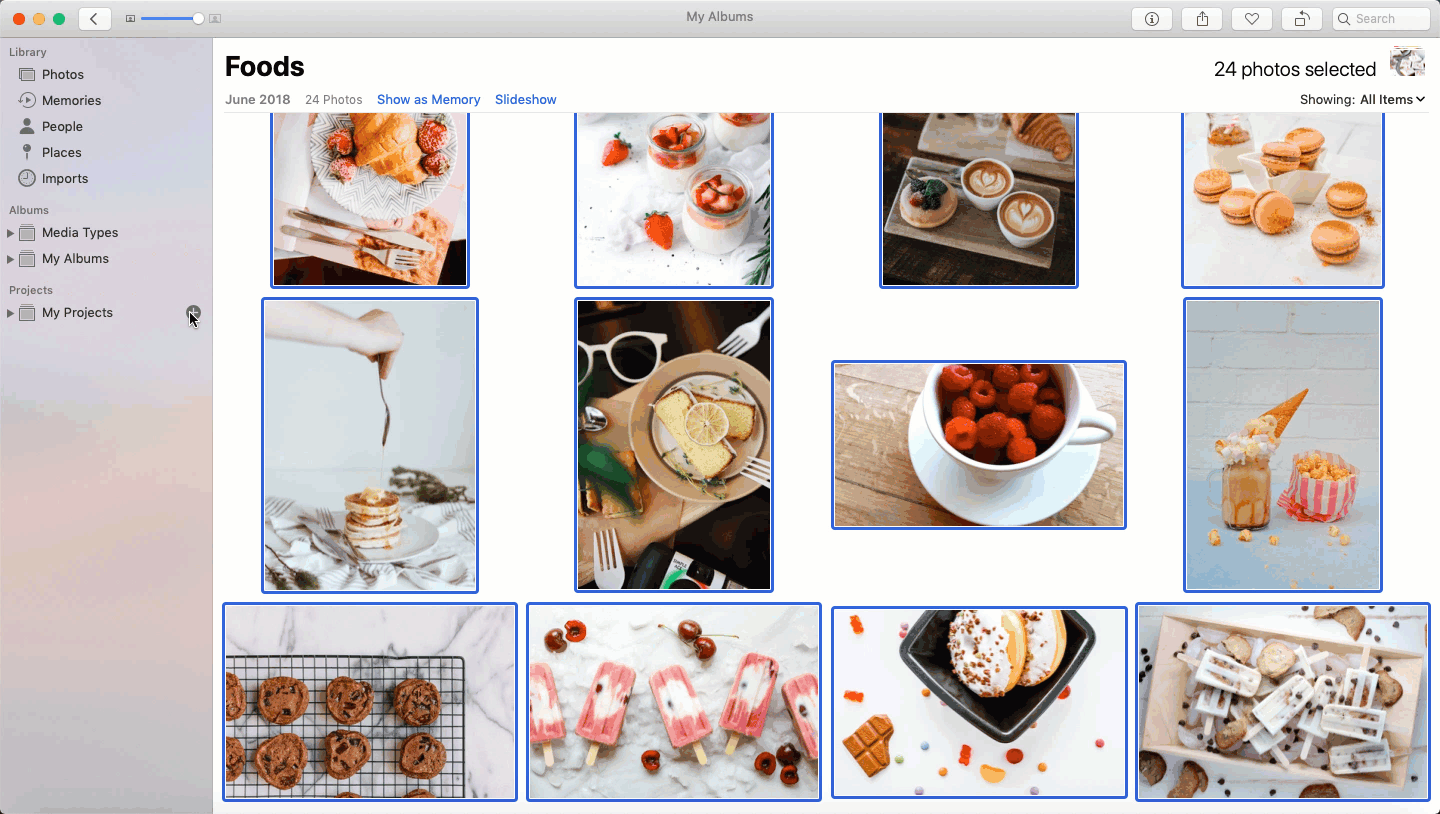
1. Select Your Photos
Select photos or an entire album that you would like to include in your photo book.
Pro Tip: If you would like to add more photos after creating your photo book project, you can easily do so by dragging and dropping photos into your project.
2. Create Your Photo Book Project
Click the plus icon (+) next to My Projects and then select Book → Mimeo Photos. Your new photo book project will automatically open.
3. Choose Photo Book Format and Dimensions
Select either a layflat, hardcover or softcover book and the size dimensions. For more details on the photo book products we offer, check out this article.
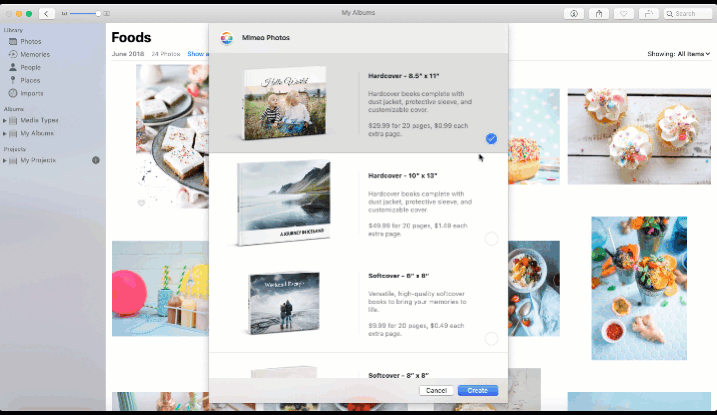
Pro Tip: You can always change the photo book size and cover settings later on, but it may affect existing layouts and designs.
4. Toggle Autofill Preference
The autofill feature automatically places your photos throughout your photo book. By disabling autofill on the top right corner when prompted to select a theme, you will be able to place your images into your photo book layouts manually.
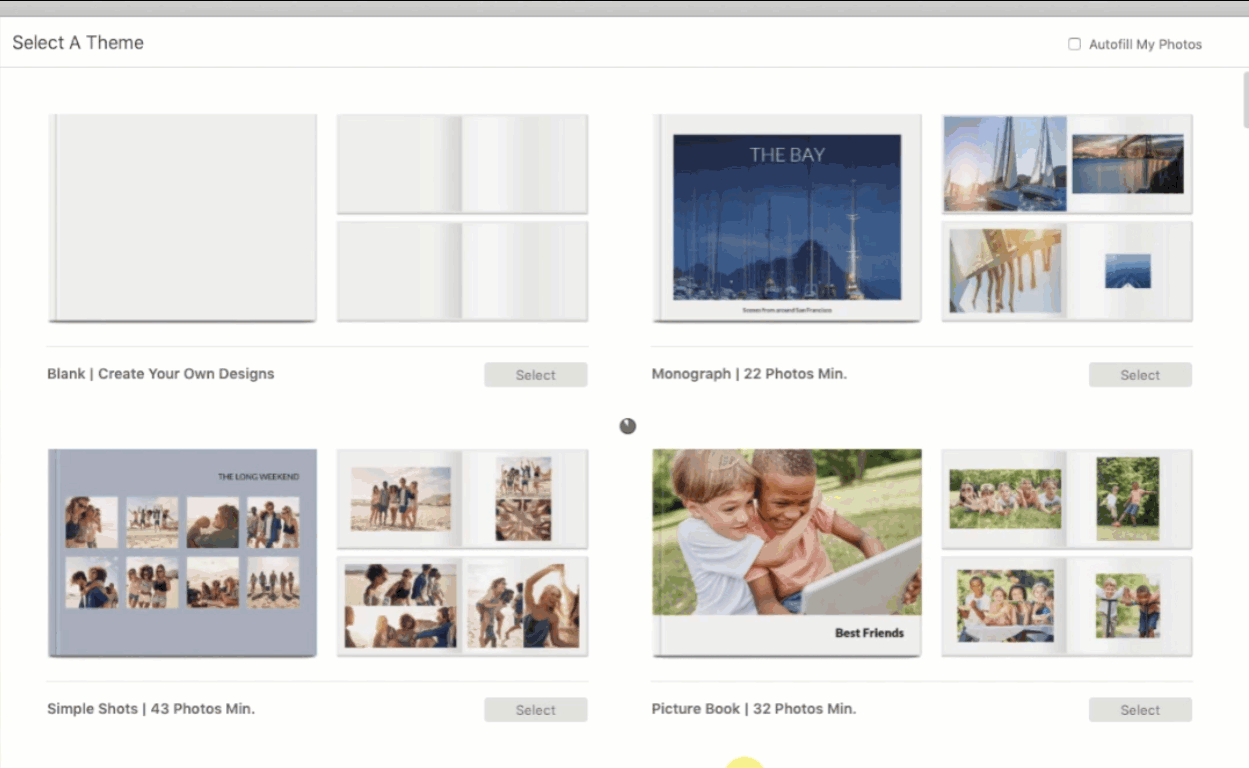
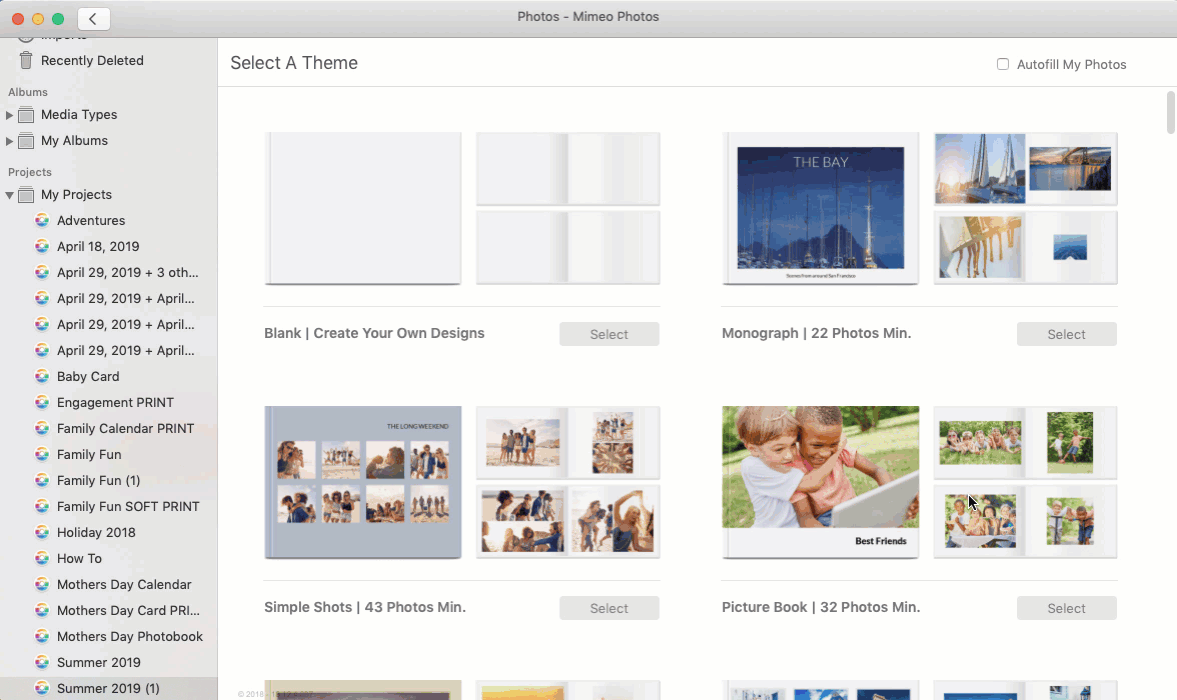
5. Select Your Theme
Mimeo Photos offers a variety of themes to pre-design your photo book with unique layouts, fonts, and colors. For unlimited creativity, start from scratch with the blank theme.
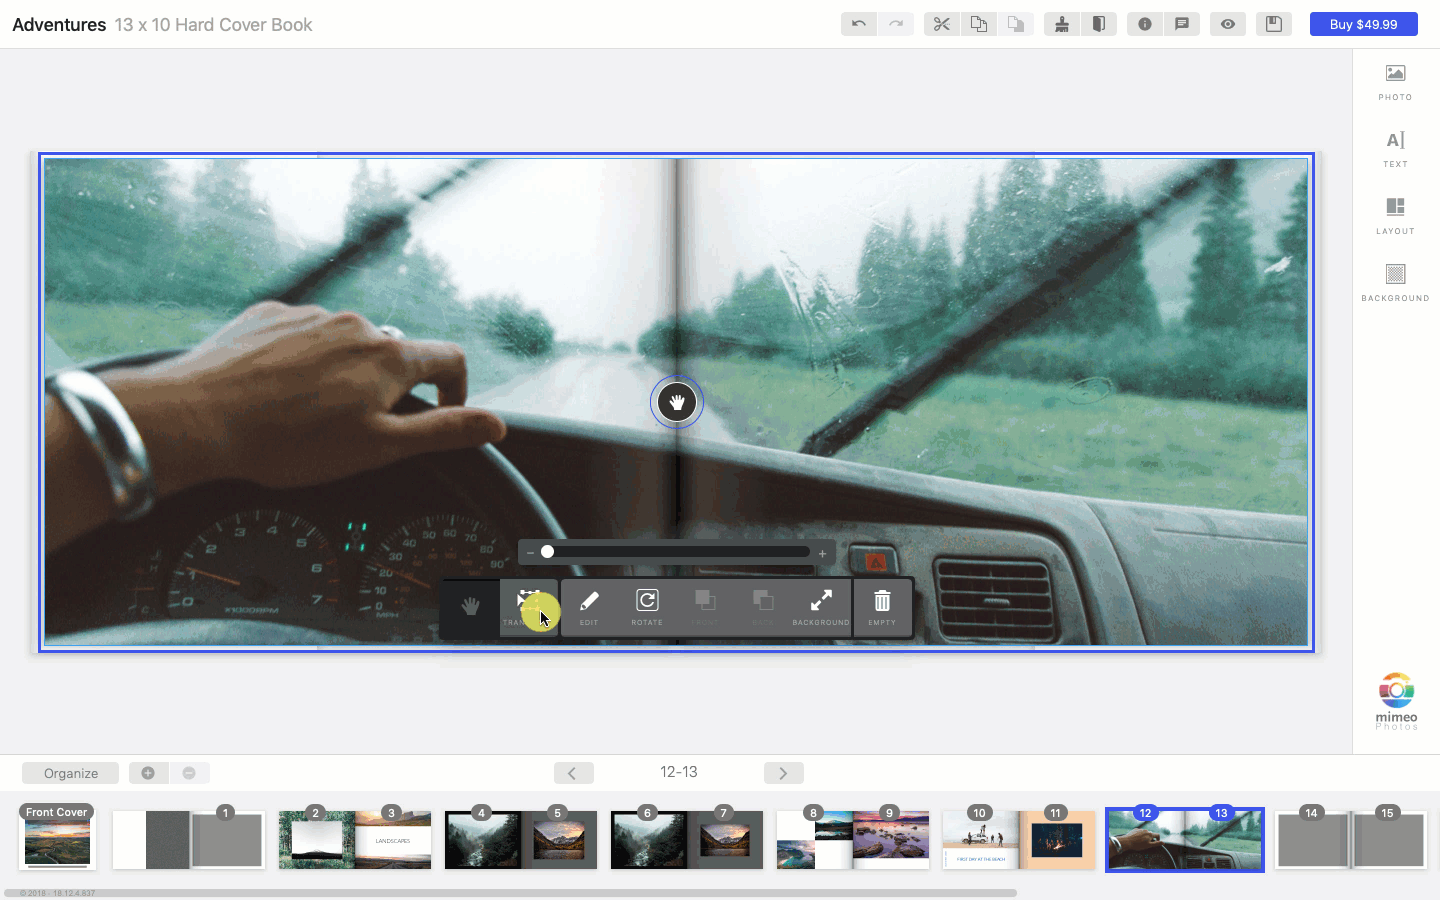
6. Customize Your Photo Book
Customize your photo book with additional edits, adjustments, and designs. Mimeo Photos offers a multitude of layouts, background colors, text options, and more to create a photo book exactly to your imagination.
For more creating and editing tips, check out our helpful articles here.
7. Editing Your Pictures
Mimeo Photos is tightly integrated with Apple. You don't have to exit your project to edit your photos. Follow the GIF above and steps below to apply edits:
-
Double click on a photo in your project's layout or click Edit
-
You will automatically be placed into the Apple Photos Editor
-
Make your edits
-
Click Done
8. Preview Your Project
Always go back and give your photo book that final review. If you really want a closer look at your final project, click here to learn how to export a PDF of your project.
After exporting a pdf and opening it from your email:
-
Confirm that each picture is properly aligned to your liking.
-
For a single photo spread across two pages, be aware that the very center of the photo will be in the binding, so you may want to adjust the image or change to a layflat book.
-
If you used borders on your photo, make sure the image isn’t placed right on the edge of a page.
For more helpful proofing tips click here.
9. Ordering Your Photo Book
After your photo book is ready to print, select the Buy button on the top right corner.
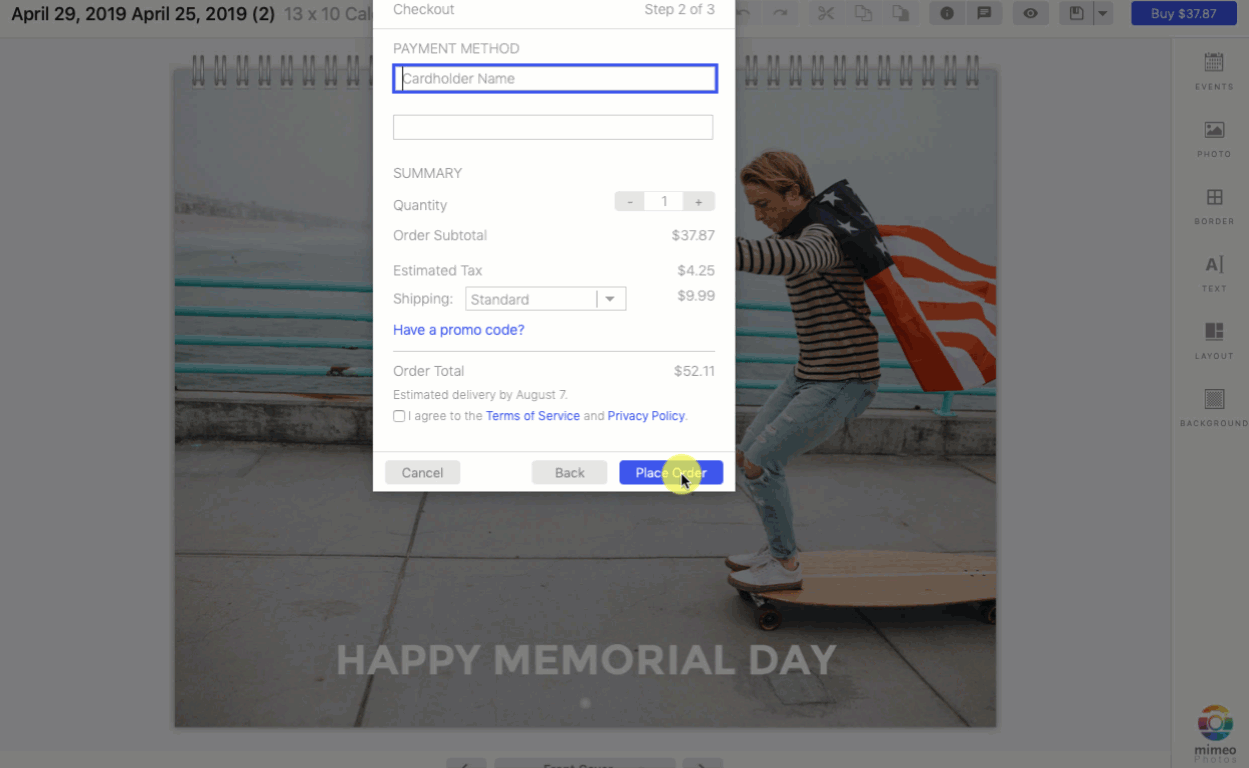
After inputting shipping and credit card information, you can also adjust the quantity of your order and enter a promo code before placing your order.
Looking for more information about creating customized photo books? You may find the answers to these FAQs helpful:
Did this answer your question?