Whether you're starting a brand new project or continuing one you've already begun, adding photos is simple with the Apple Photos integration. Here’s how to make sure your images are organized and ready to use.
Create an Album in the Photos App
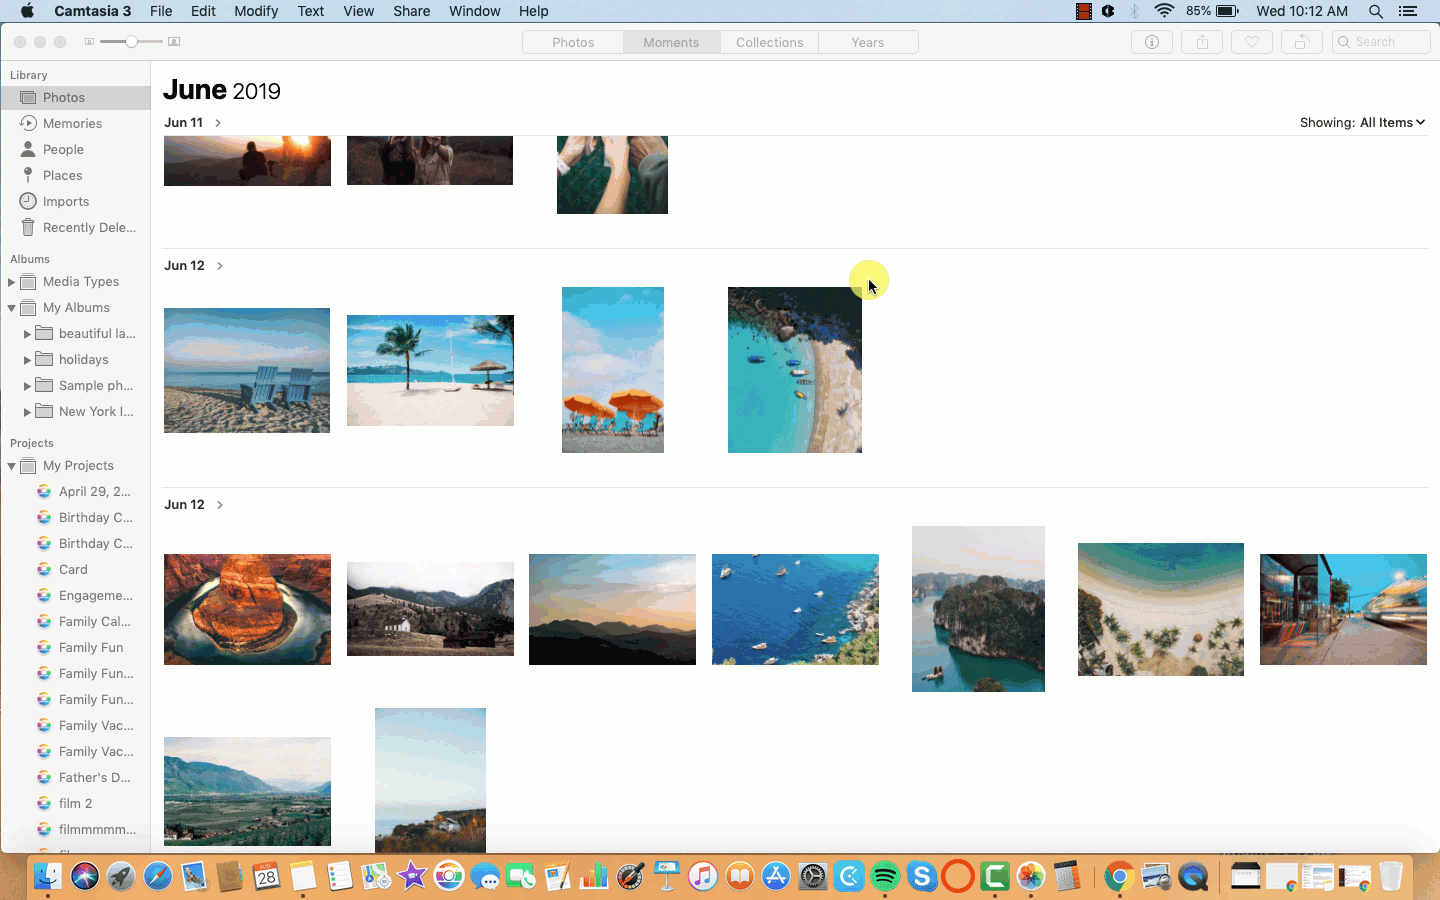
Organizing your photos into an album before creating your project can make the design process faster and easier.
-
In the Photos app, select the images you want to group.
-
Click the (+) button next to Albums in the sidebar.
-
Name your album and confirm.
Important: Avoid using Shared Albums when building your Mimeo Photos project. Images from Shared Albums may not be fully accessible to the app, which can cause upload or asset issues during design or checkout.
Start a Project From Your Album
Once your album is ready, you can launch your Mimeo Photos project directly from it:
-
In the My Albums section, CTRL (control) + click on your album title.
-
Choose Create from the menu.
-
Select Book (or another format).
-
Click Mimeo Photos to launch the project with those photos.
Add Photos to an Existing Project
Need to include more photos after starting your project? No problem. You can easily bring in additional content at any time:
-
Open your project in the Photos app.
-
Drag and drop photos directly from your Photos library into the existing project under My Projects.
-
You can drag one photo at a time, select multiple using Shift or Command, or even drag entire albums.
-
-
Once dropped into the project, the photos will be available in the photo tray for use throughout your pages.
Tip: For the best experience, we recommend adding no more than 650 photos to a single project.
Did this answer your question?