How to Get Started: Photo Books (Web Version)
After navigating to the Photo Books section of the Mimeo Photos website, follow these steps to start creating your photo book!
1. Choose Your Book's Format
Select either Layflat, Hardcover or Softcover book and the size dimensions. Then click the Customize button. For more details on the photo book products we offer, check out this article.

2. Name Your Project
Type your project's name and click the Create button.

Note: This is an optional step, but it's helpful to name your project so you can easily know what it is later. You can also re-name your project after you've started working on it.
3. Select a Theme
Choose from a variety of pre-designed themes that include layouts, backgrounds and spaces for text, or start from scratch to build a completely custom photo book by selecting the blank theme.

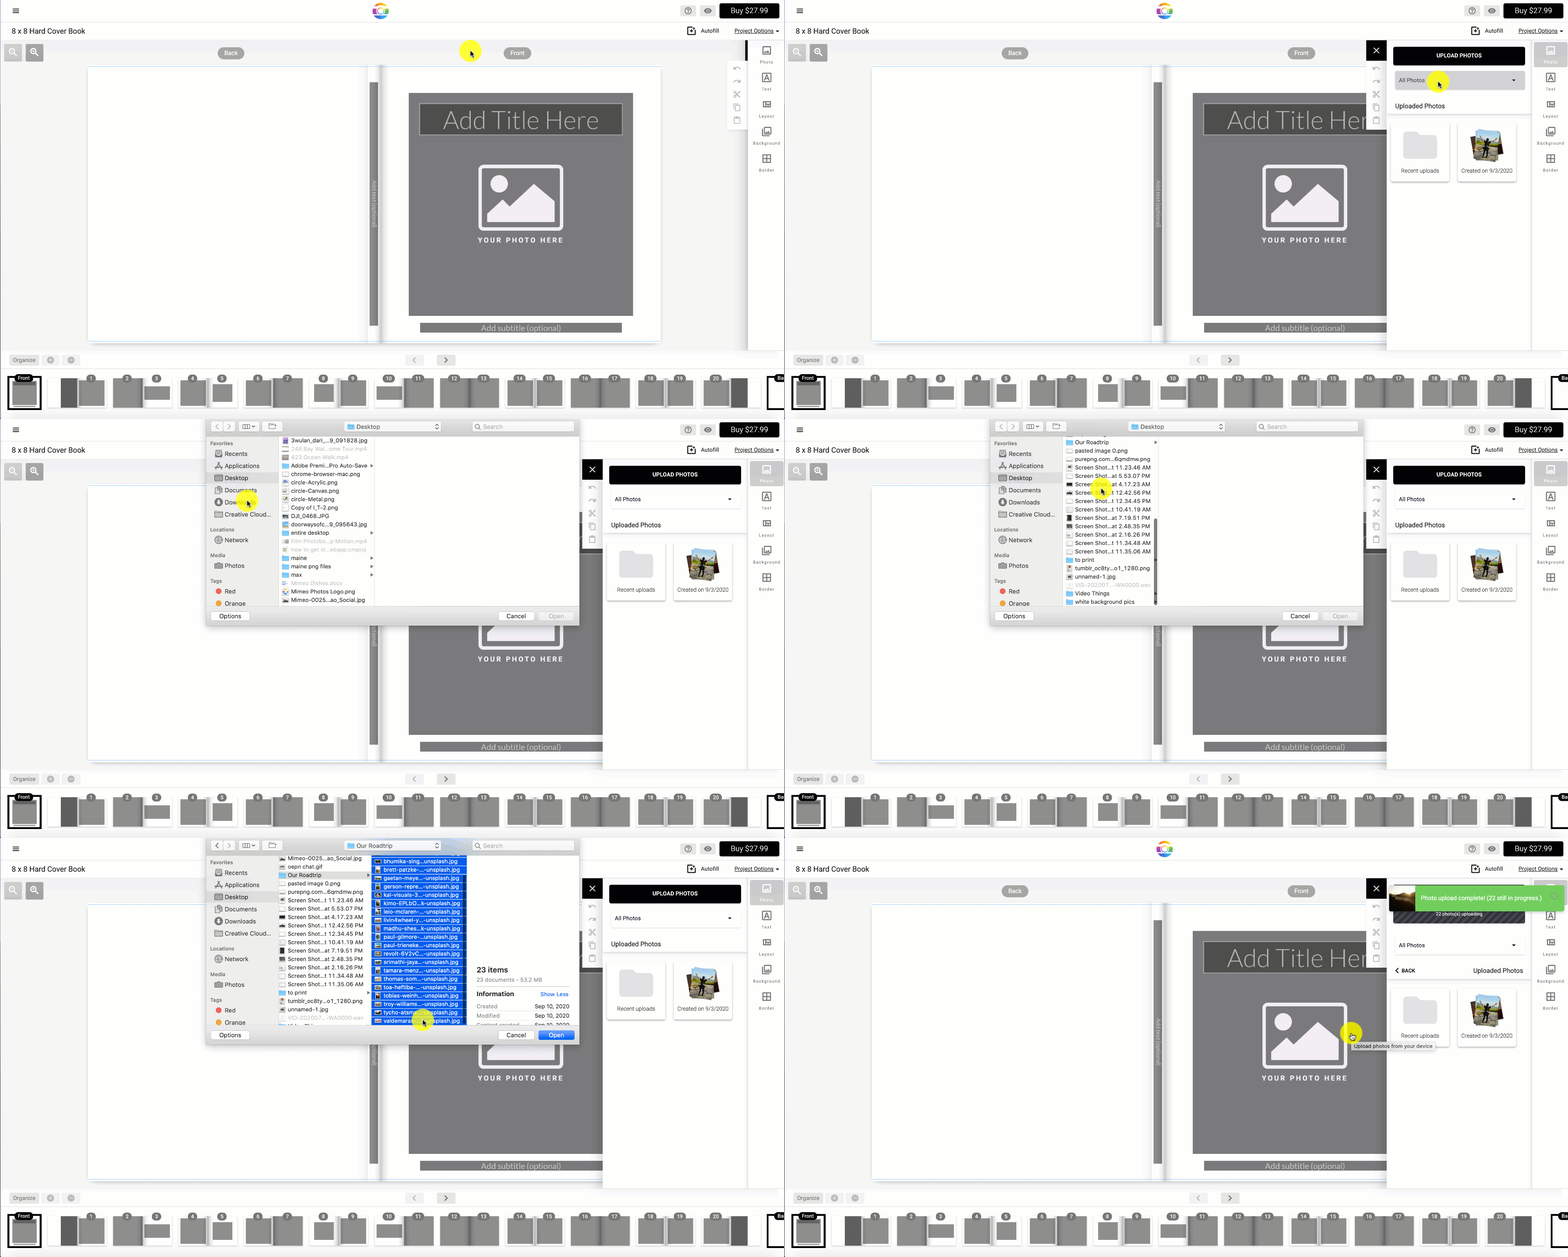
4. Upload Photos to Your Project
Select photos or an entire album that you would like to include in your photo book.
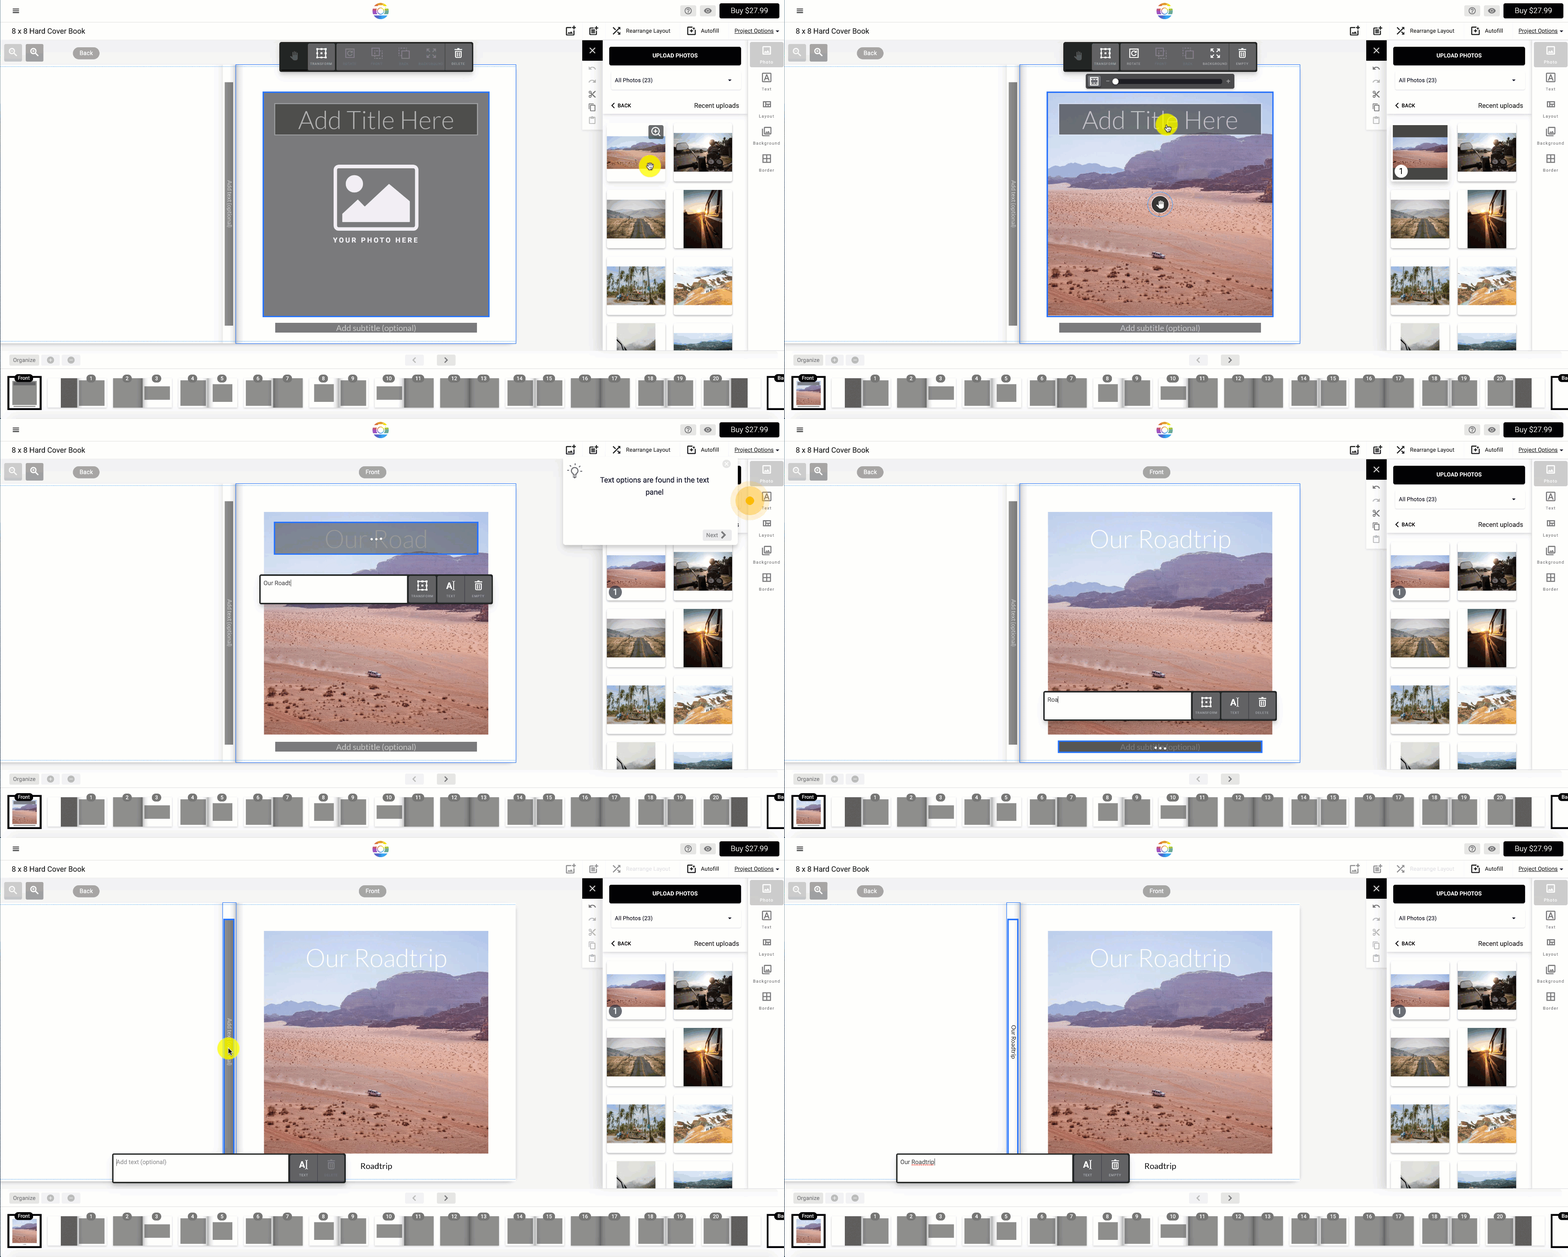
5. Add Photos and Text to the Spine
To add photos, click and drag your picture into the photo box.
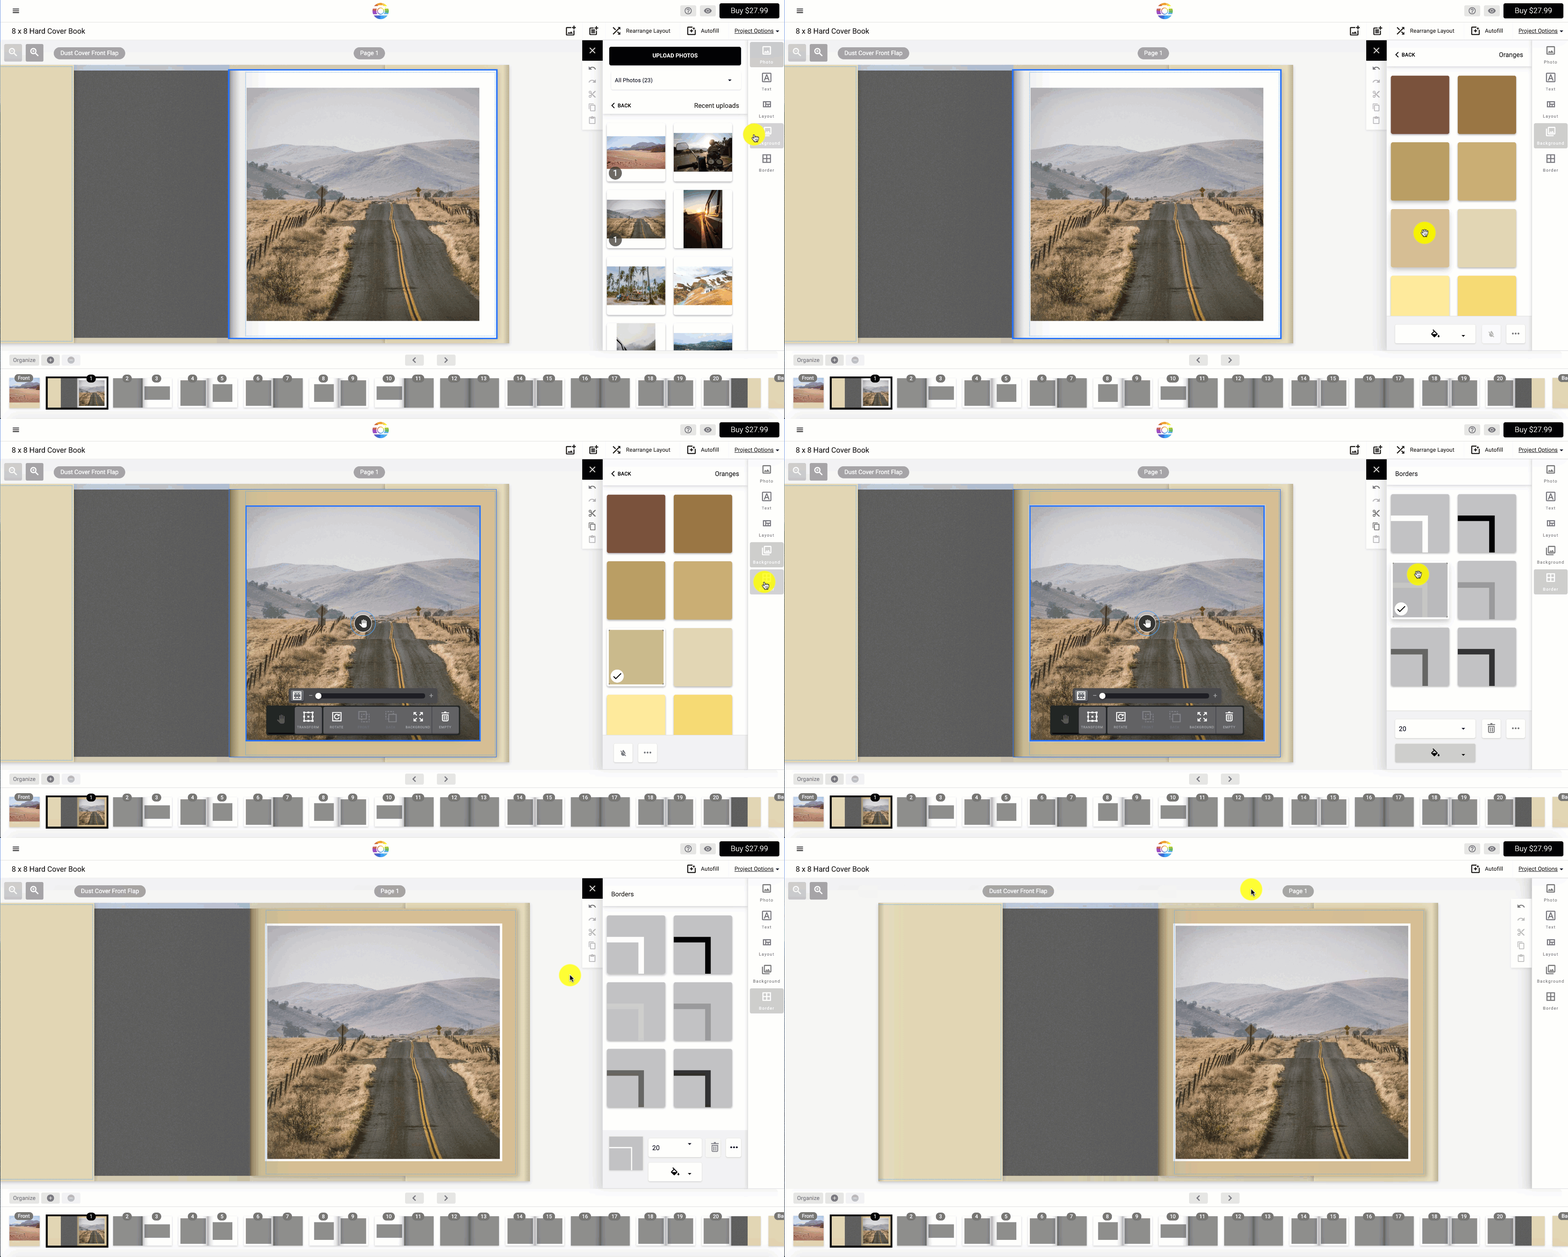
6. Customize Your Photo Book with Backgrounds and Borders
Mimeo Photos offers a variety of layouts, background colors, text options, and more to create a photo book exactly to your imagination.
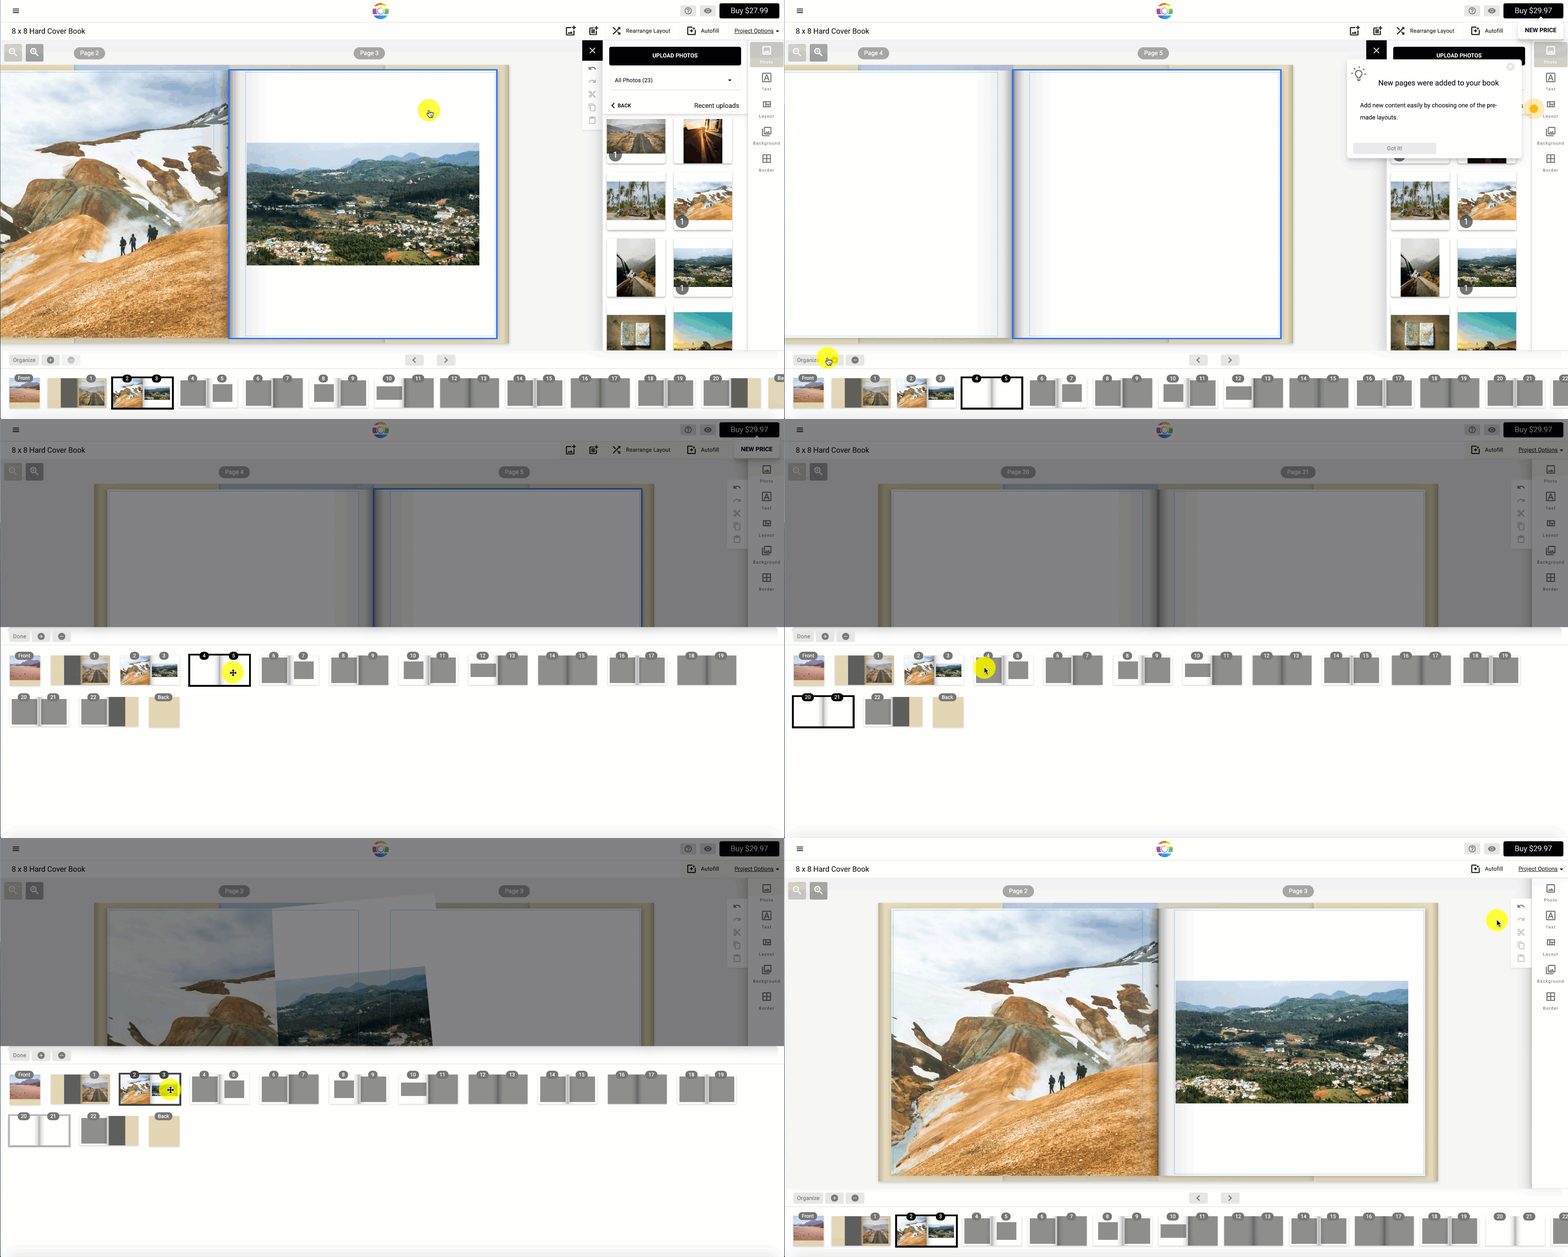
7. Add/Remove and Move Your Photo Book Pages Around
Click the "+" plus button to add new pages to your photo book. Click Organize to move around your pages.
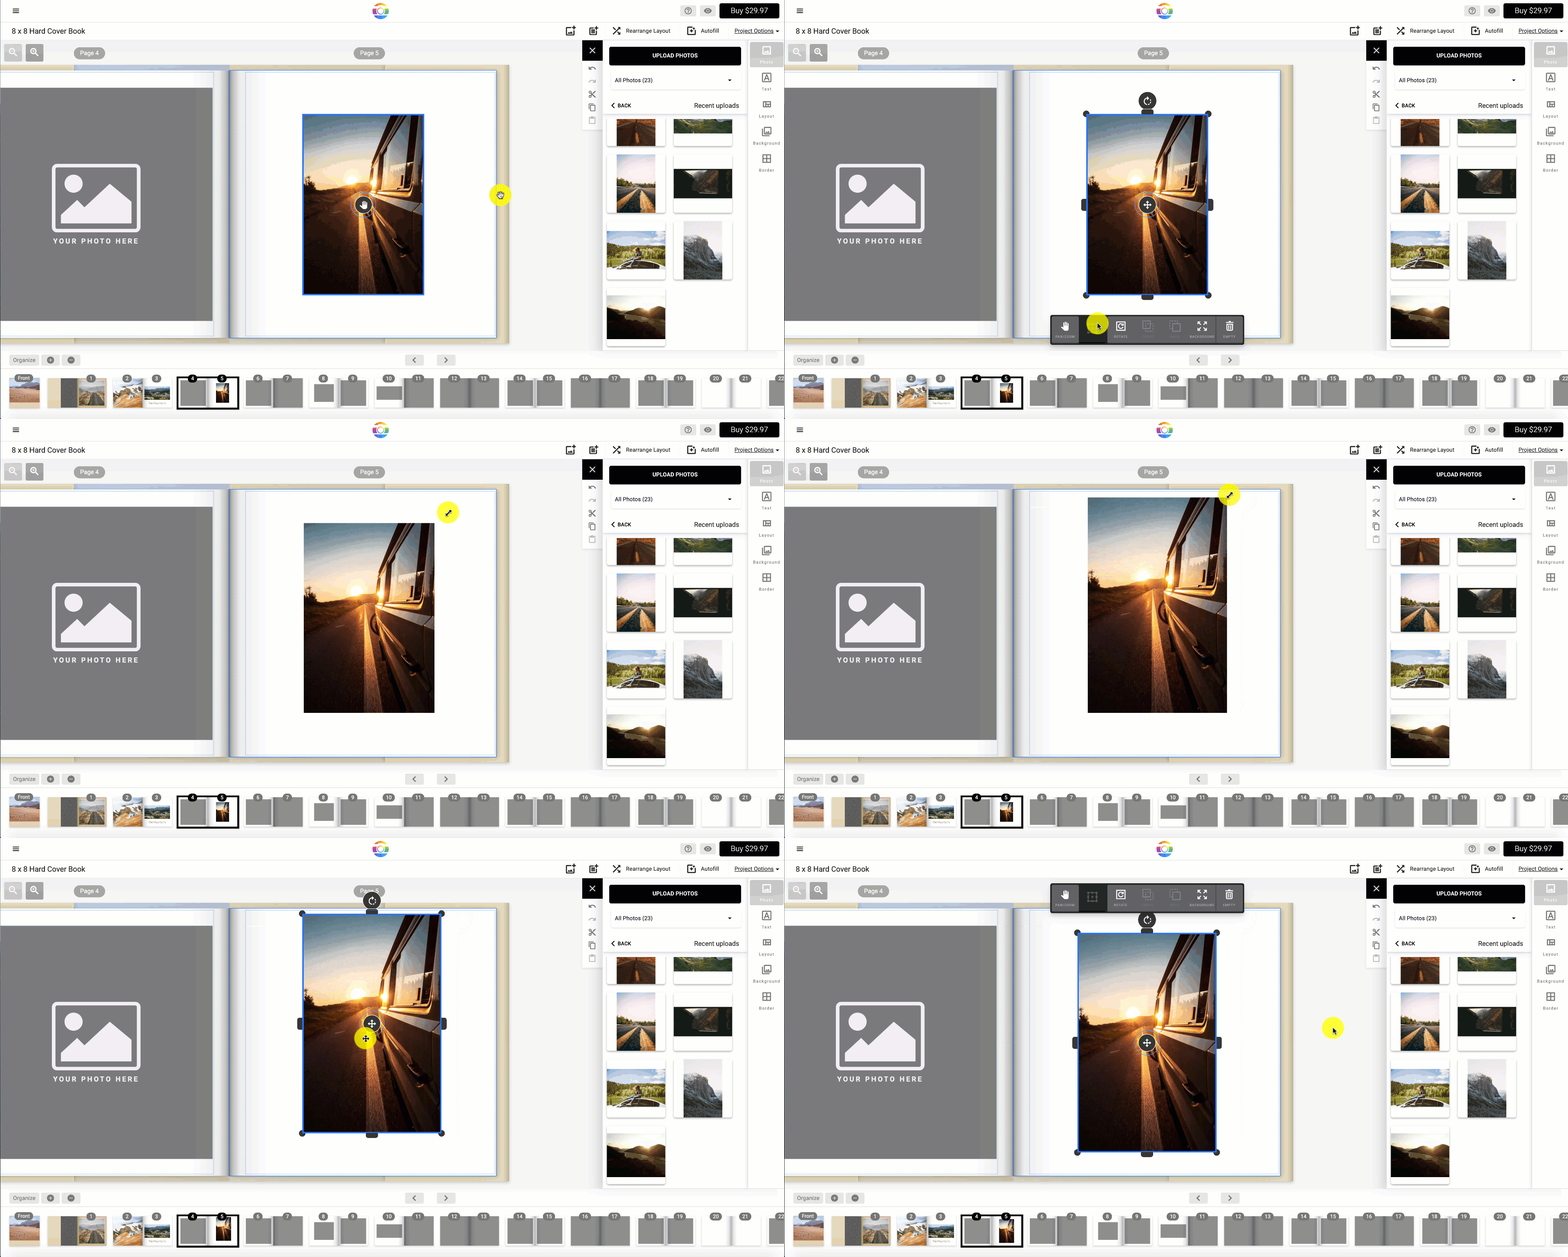
8. Crop and Adjust Your Photos
Use the transform tool which allows you to crop and change the dimensions of a photo or move it around on a page.
To learn more about Mimeo Photos features, you may find these articles helpful:
Did this answer your question?