How to Get Started: Cards (Web Version) Follow these steps to start creating your custom cards online.
Follow these steps to start creating your own personalized cards!
1. Choose Your Format
Navigate to the Cards section of the Mimeo Photos website and select either Flat or Folded Cards. Then, select the size and finish for your cards and click the Customize button.

For unlimited creativity, start from scratch with the blank theme.
2. Name Your Project
Type your project's name and click the Create button.

Note: This is an optional step, but it's helpful to name your project so you can easily know what it is later. You can also re-name your project after you've started working on it.
3. Select a Theme
Choose from a variety of pre-designed themes, or start from scratch with a blank theme for a completely custom card.

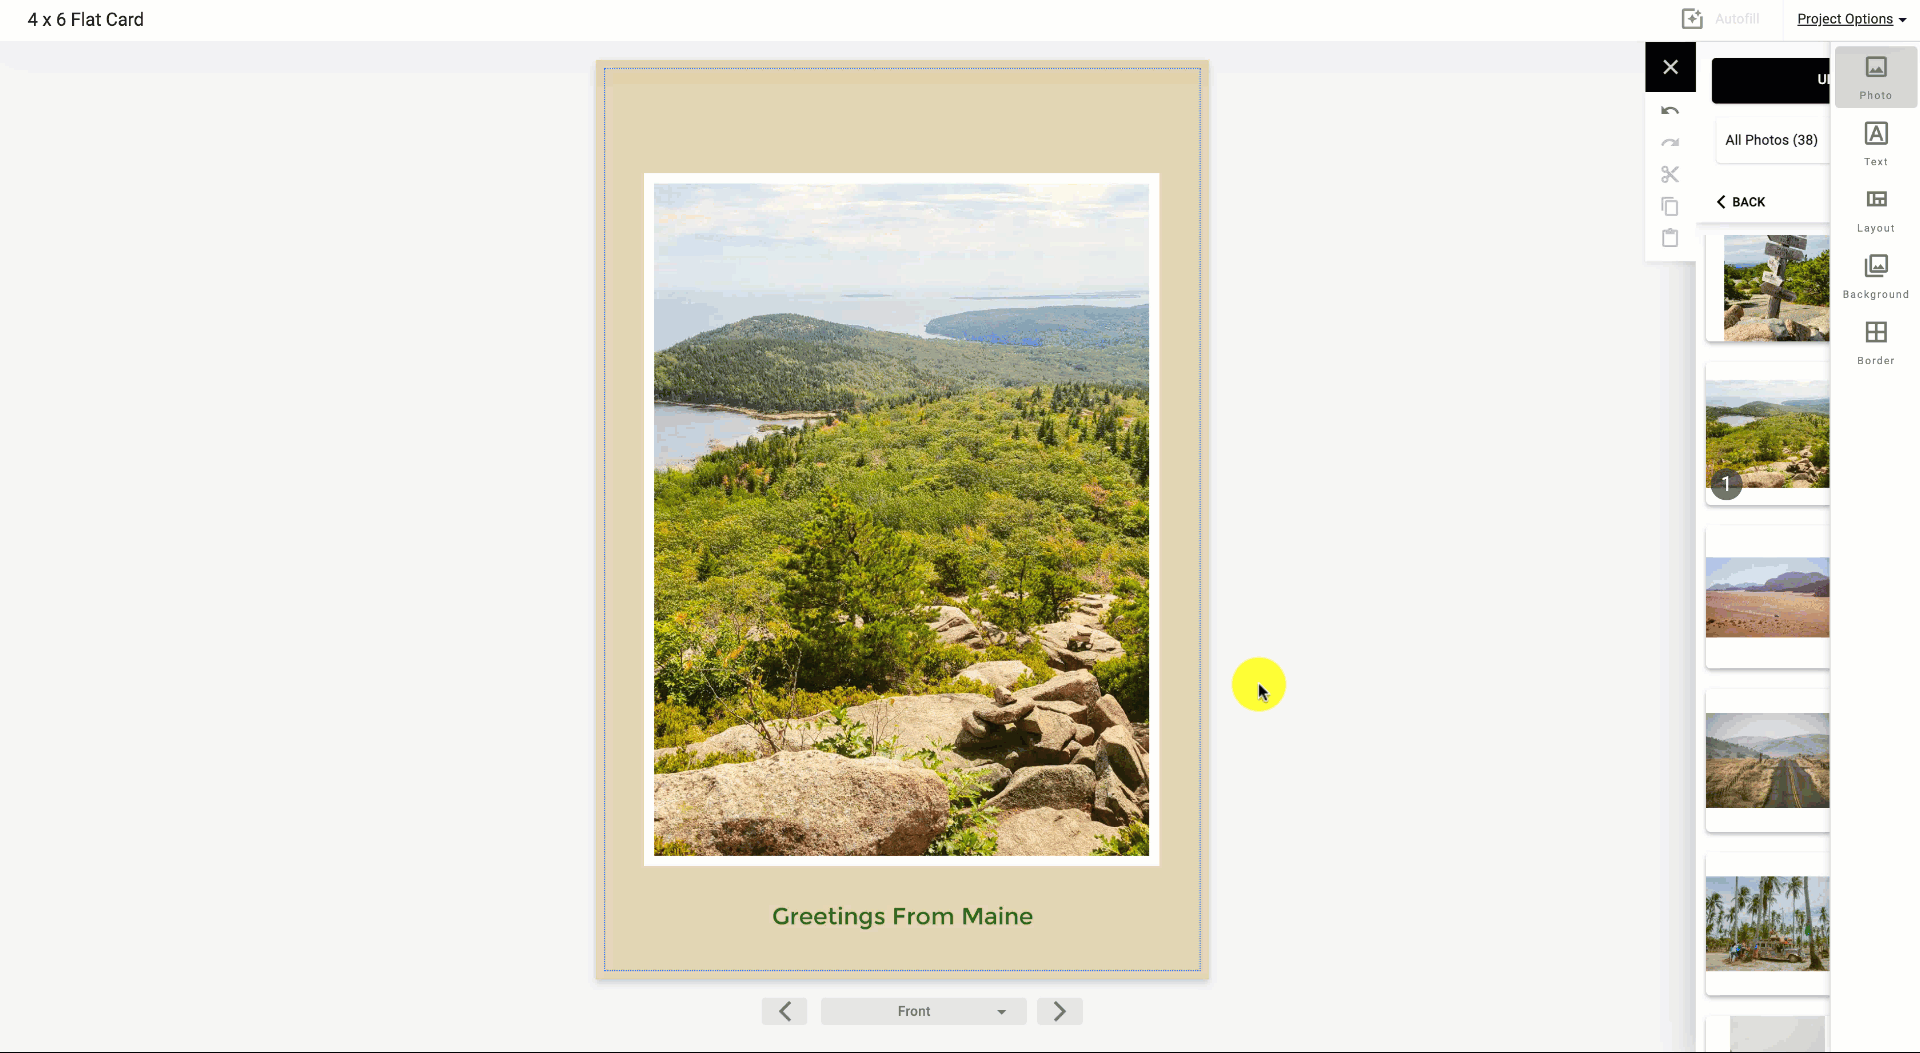
4. Add Pictures
To add pictures to your card, upload new photos or select a previously made album. Then, click + drag the photo on to your card.

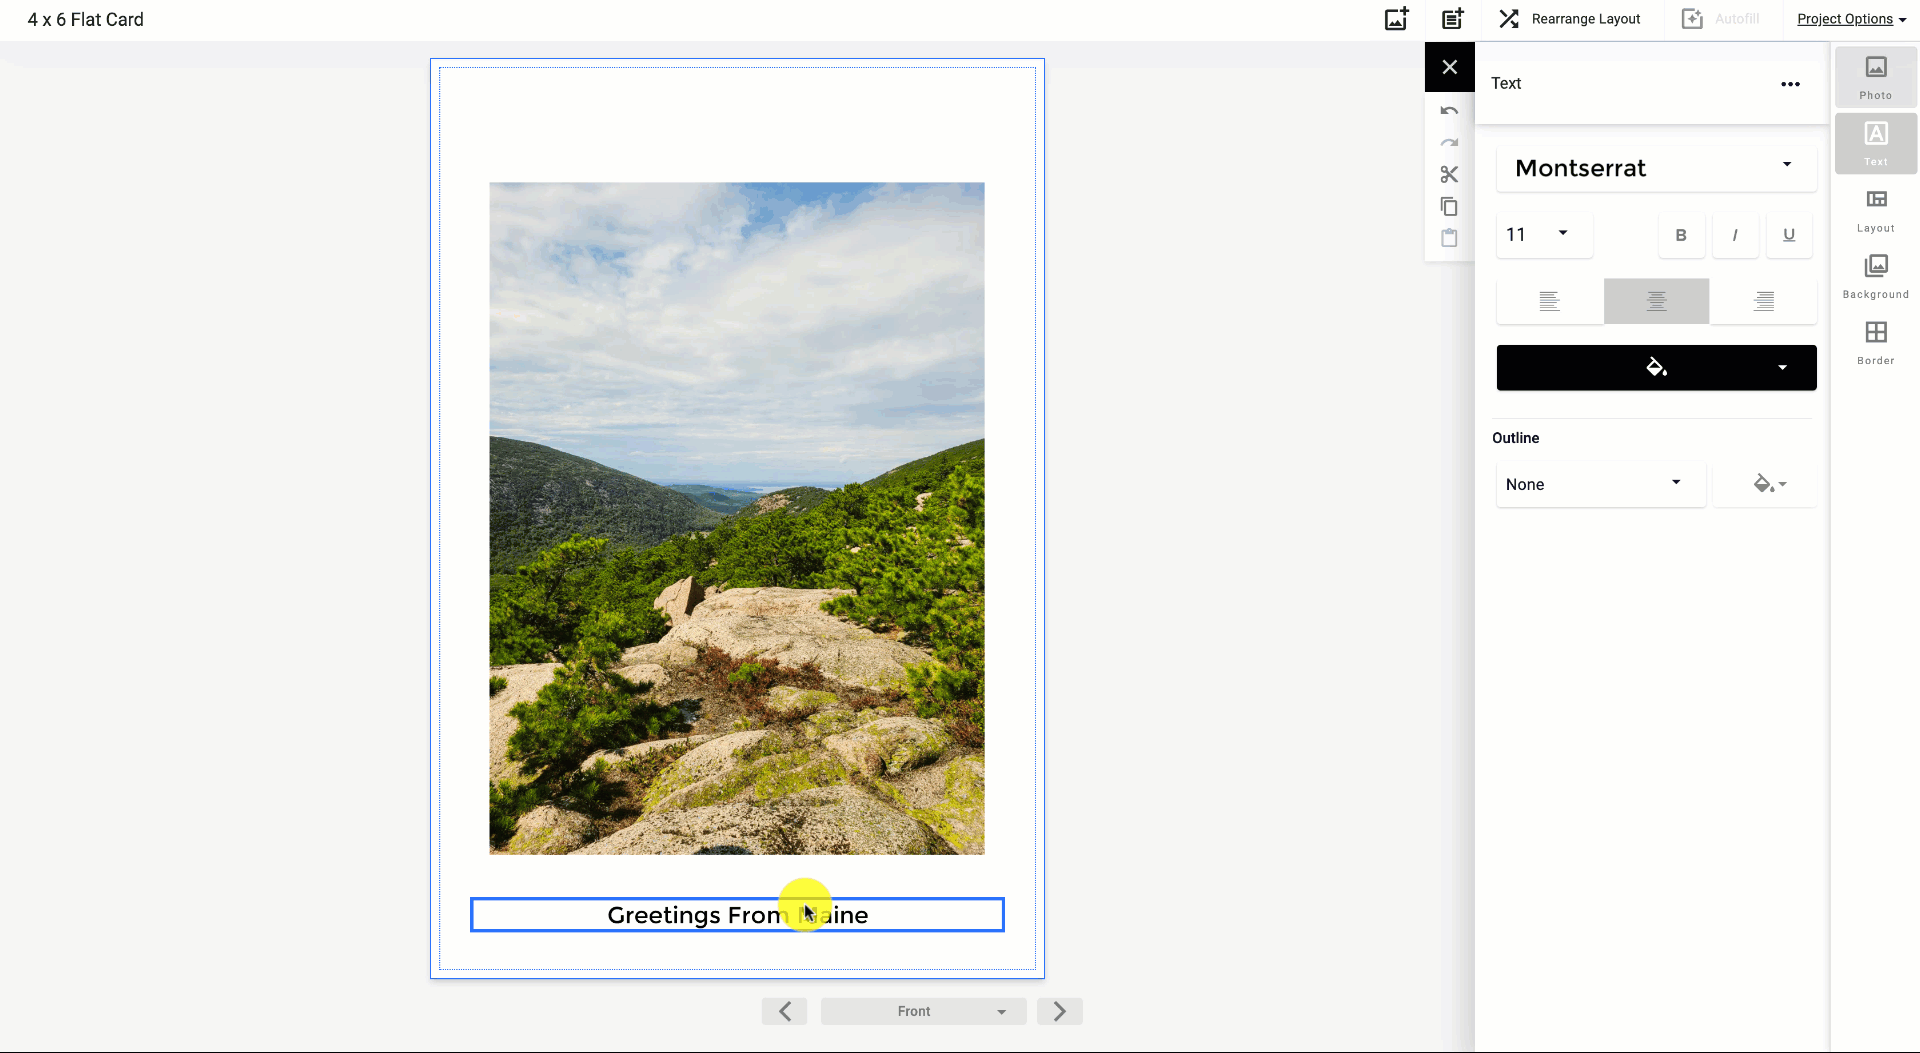
5. Customize Your Card
Customize your card with additional images, adjustments, and designs. Mimeo Photos offers a variety of layouts, background colors, text options, and more to create a card perfect for any occasion.
For more creating and editing tips, check out our helpful articles here.
6. Add a Message
Flip to the back or inside of your card to add a message to your card and don't forget you can add photos here too!
7. Ordering Your Card
After your card is ready to print, select the Buy button on the top right corner.
Input your shipping and credit card information. On the final checkout screen, adjust the Quantity, as well as enter a promo code before submitting.
Looking for more information about creating personalized cards? You may find the answers to these FAQs helpful:
Did this answer your question?