Adding Backgrounds & Borders
Adding Backgrounds
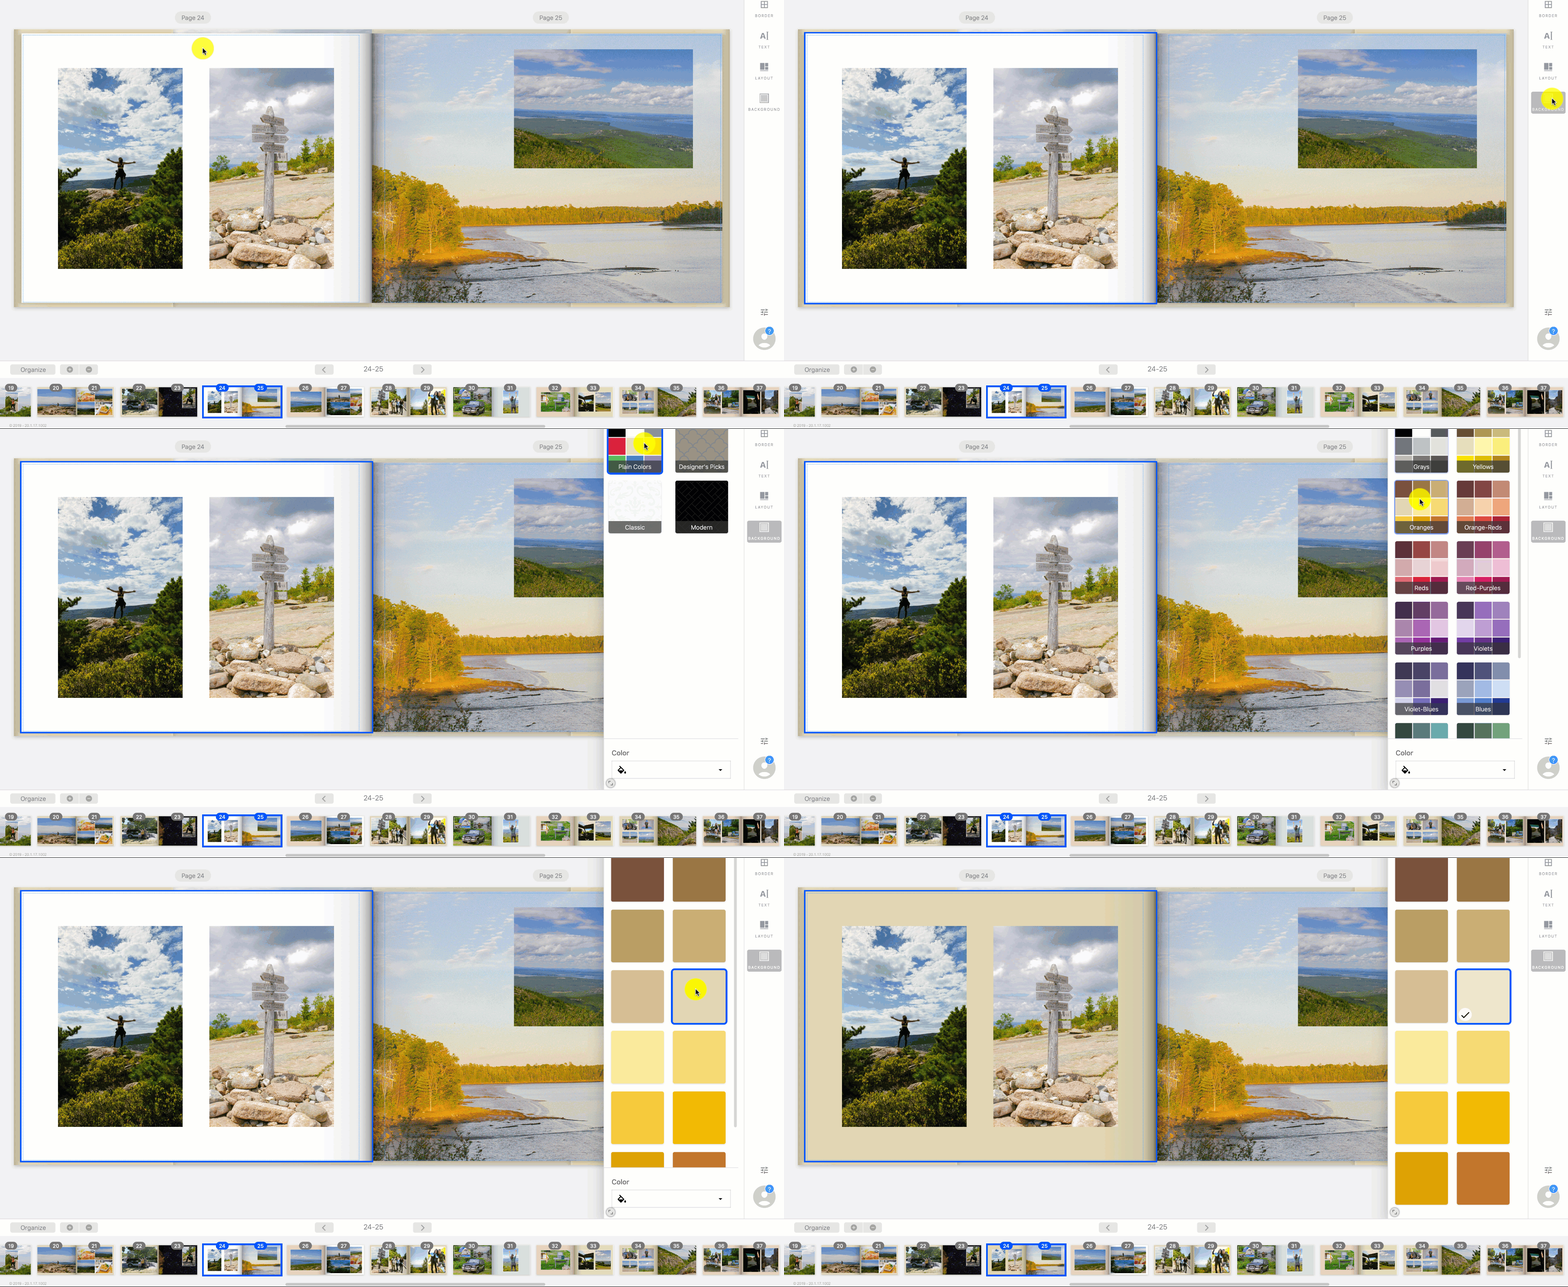
Choose from countless background patterns to add a unique touch to your project.
To add a patterned background simply select the page, go to Background, and select a design.

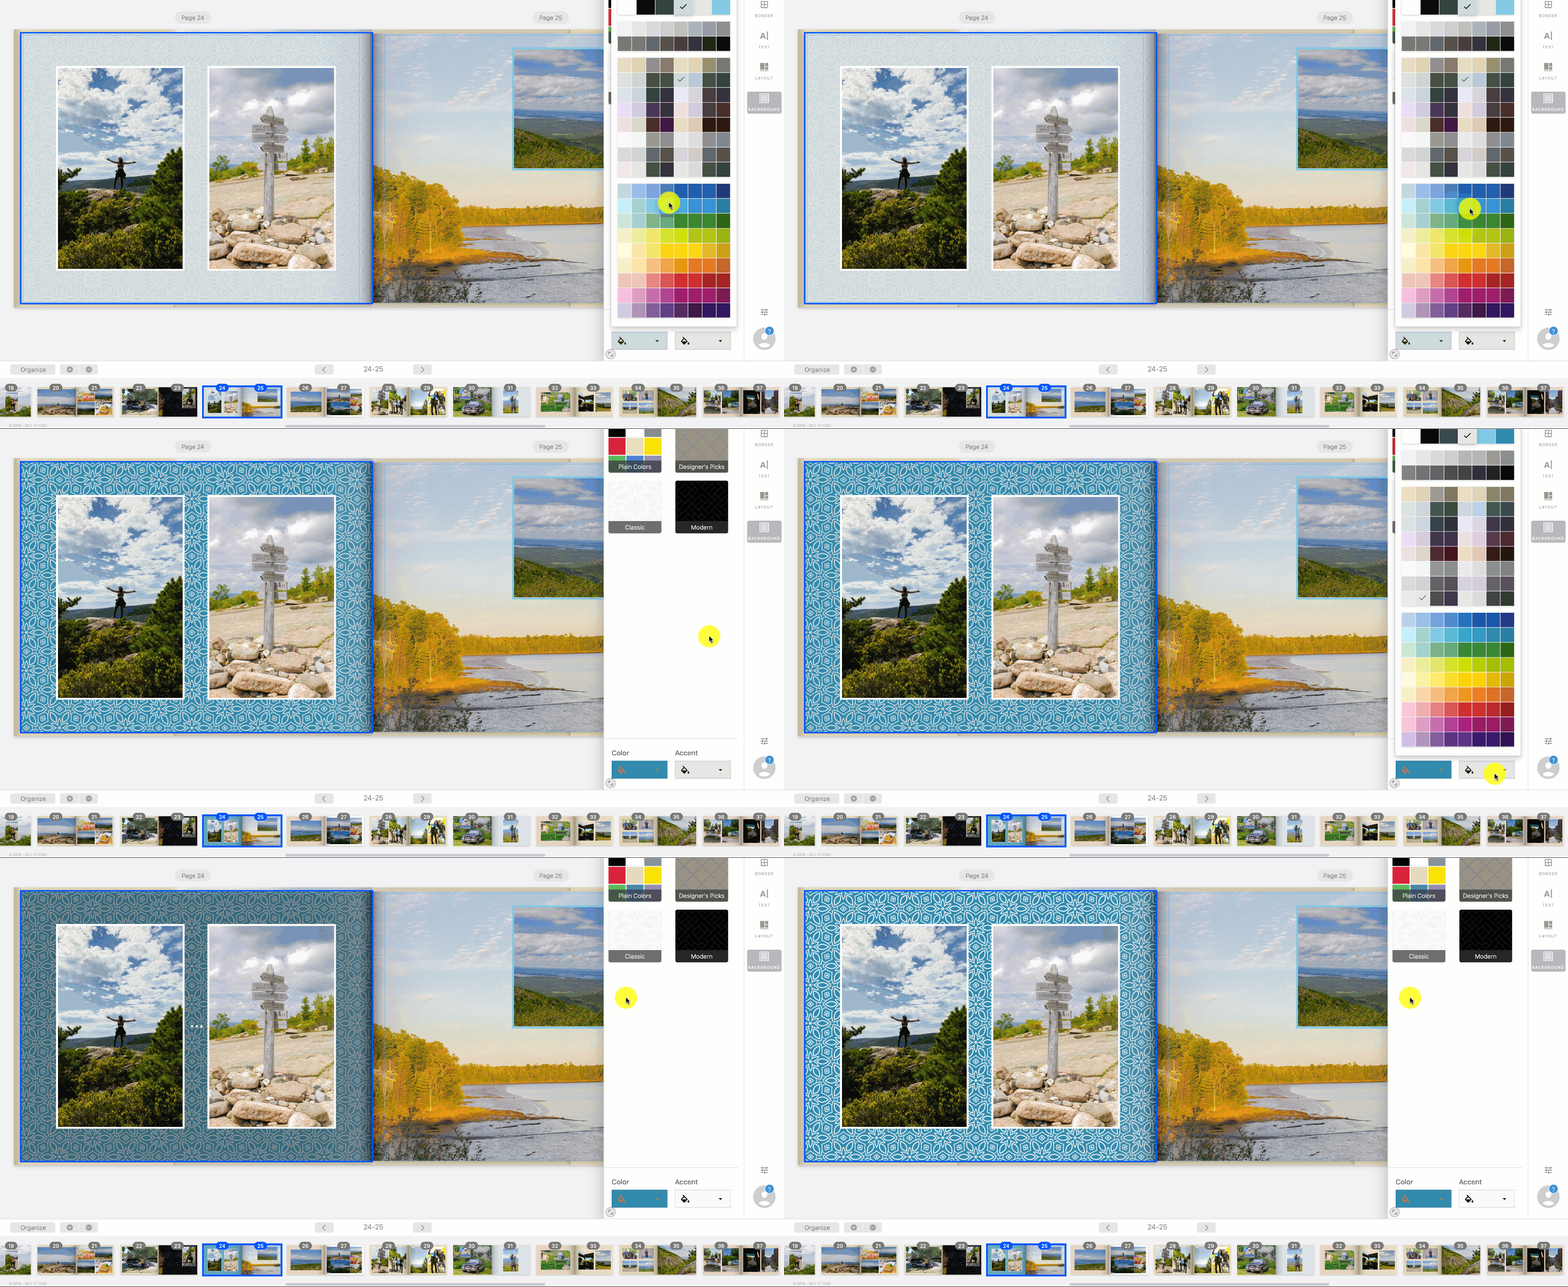
To alter the colors of a pattern:
-
Choose your background from the Background panel.
-
Next, select the Color tool located at the bottom of the Background panel.
-
Choose the secondary color with the adjacent Accent tool.

Use an Image as a Background
To create a full bleed photo select an image on your photobook page. Next, click the option with the two arrows labeled "Background".
If you would like to add images on top, simply click layout while the page is still selected. Then select your desired layout and add your images!
Get creative by layering your photos or using the background picture as a border.
Image Borders
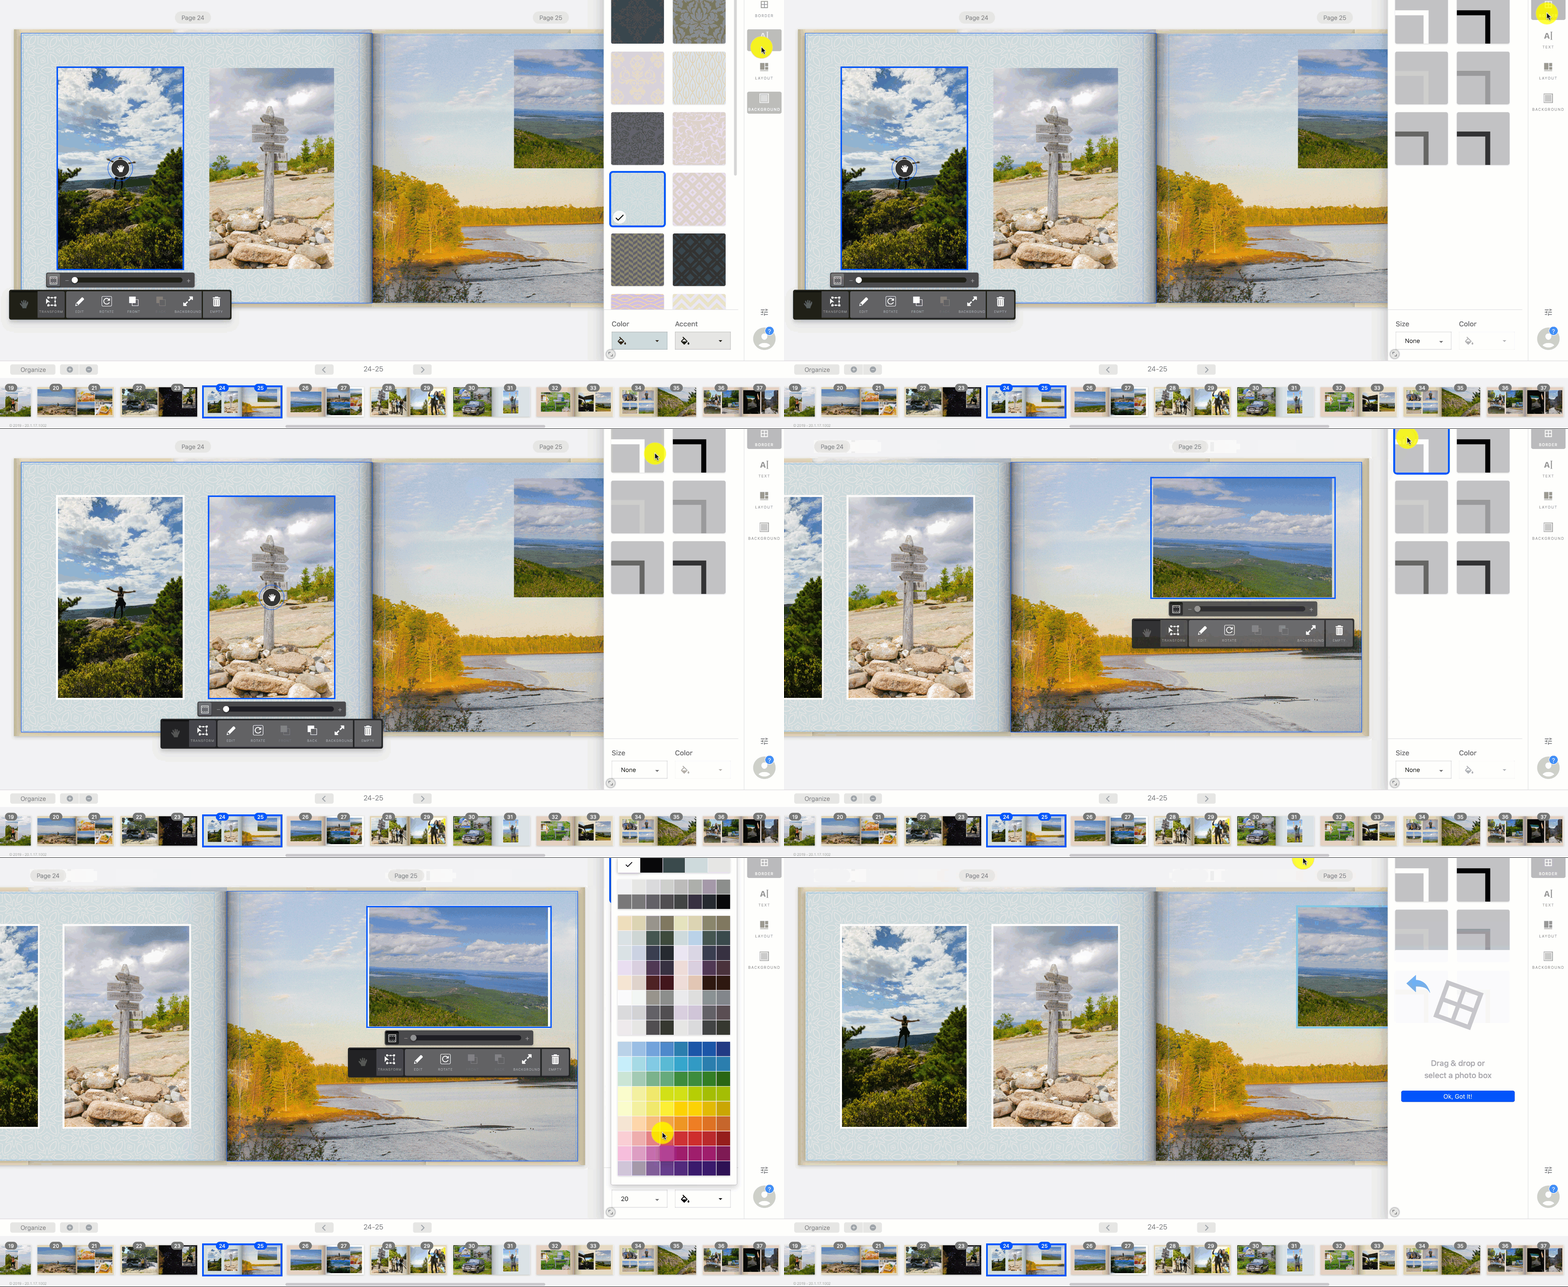
To add border styles to your images simply select an image, open the Border tool panel, and choose your favorite!

If later on in a project you’d like to remove a border from a photo you can easily do so by selecting the None button located in the upper right-hand corner of the Border panel.
Using Your Images as Borders
Try getting creative and use some of your pictures as borders. Use contrasting photos so the correct images are emphasized on the page.

By clicking the transform tool you can adjust your photos to create a stunning border for pages with text or other photos.

To make sure your borders are identical:
-
Select your border
-
Click the Copy button next to the Scissors icon
-
Then click Paste
Did this answer your question?

